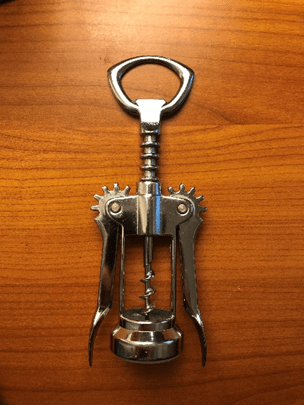
Project Scope
This project consisted of reverse engineering an everyday item to explore its functionality and then model it in SolidWorks. It showcases the various tools I use to design: 3D sketches, extrusions, revolves, lofts, draft cuts, 3D surfaces, mirrors, linear and circular patterns, helixes, sweeps, threads, etc. To make a functional assembly, I used a selection of mates including: concentric, width, rack and pinion, limit distance, screw, coincident, parallel, and angle.
Prototyping Process
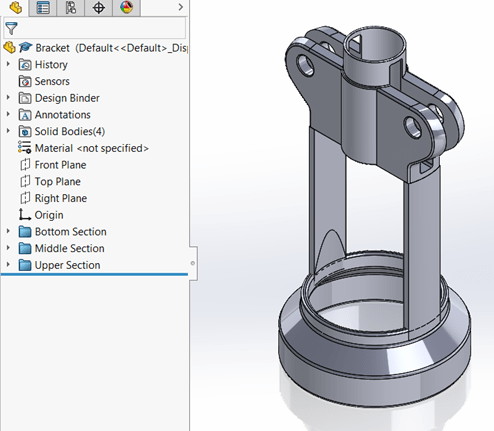
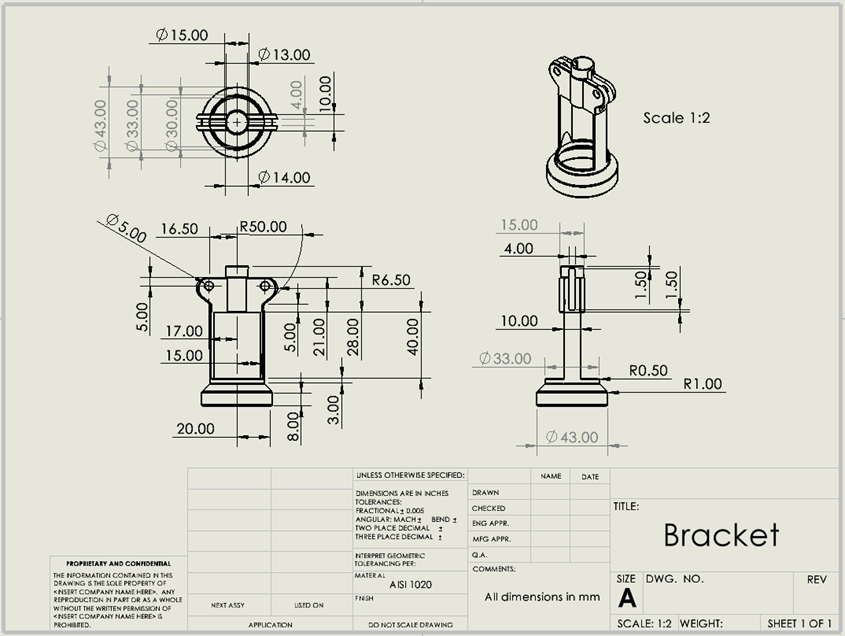
1) Bottom Bracket
I started out my design with the bottom bracket piece. Working from the bottom up, I tried to replicate the bottle opener as best I could and explored several different tools such as surfaces and knitting them into solids to obtain the particular geometry of the upper section.

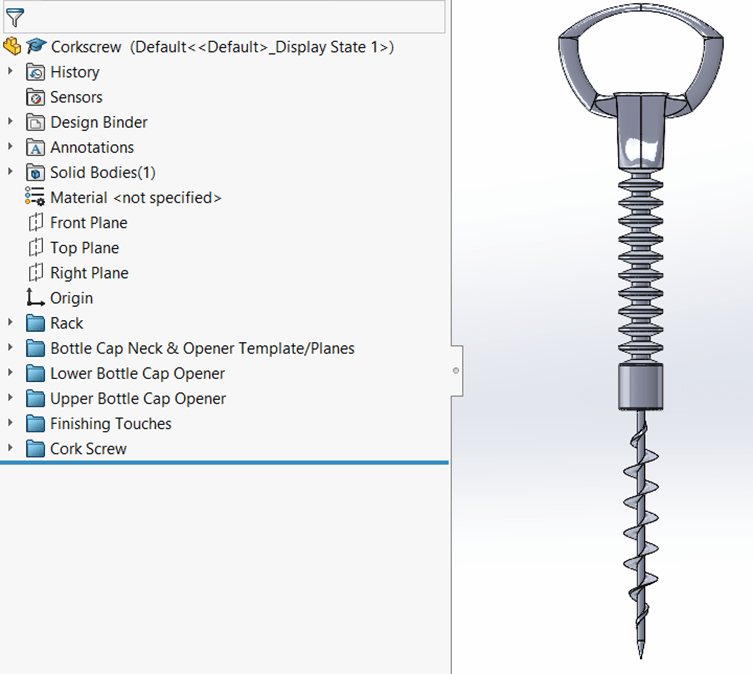
2) Corkscrew
For this piece I explored helixes and spirals to make the rack and pinion and corkscrew sections. I made some hand calculations to have a functional interaction between the rack and pinion movement. It mattered to me that it functioned perfectly in CAD even if these designs wouldn’t be made into physical prototypes.
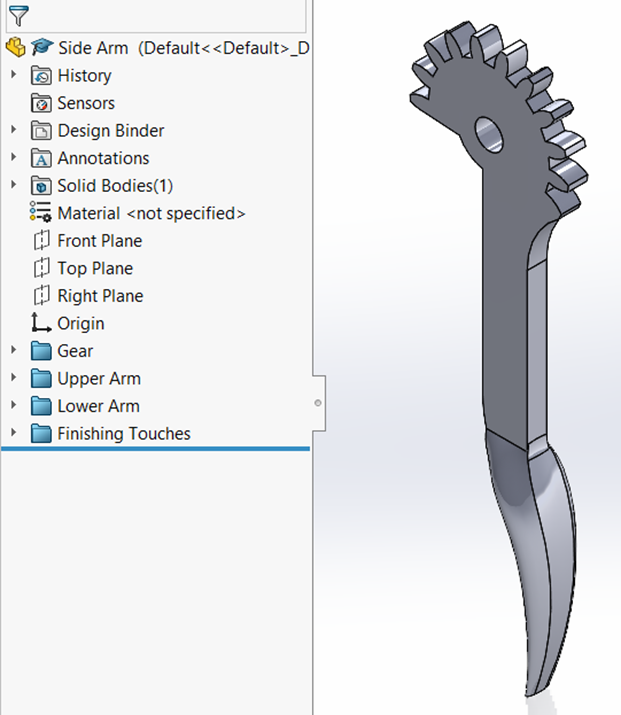

3) Side Arm
Following the same principle as the rack in the corkscrew, I made the gears for the sidearm from scratch. Followed by 3D sketches and lofts that required time and patience.
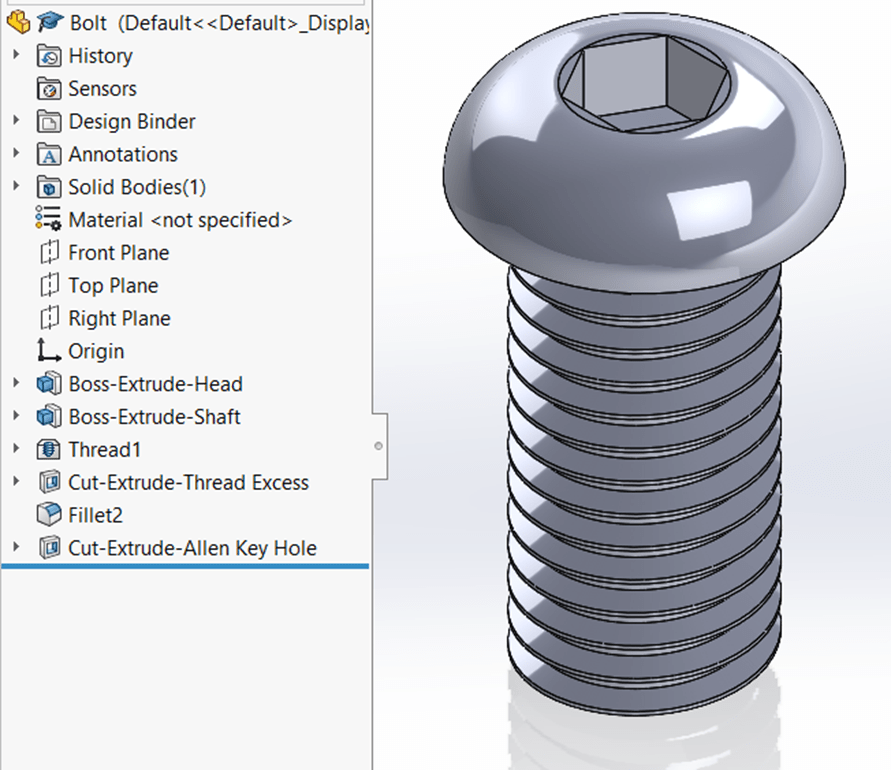
4) Bolt
In the original bottle opener, there are 2 rivets to secure the arms to the bracket. In order to replicate this clean look, I decided to try my hand at making my own bolt from scratch. While I could have probably downloaded a file from McMaster-Carr, making the bolt from scratch gave me a good perspective and knowledge of working with spirals.

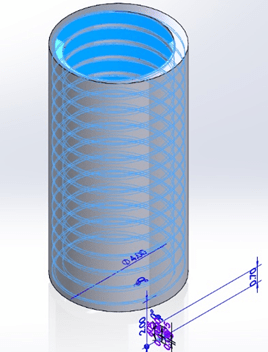
5) Bolt Housing
In order to replicate the other side of the rivet, I designed a bolt housing to work in conjunction with the bolt. I made sure the the thread pattern was the same as the bolt to ensure they would fasten together well.
Exploded View
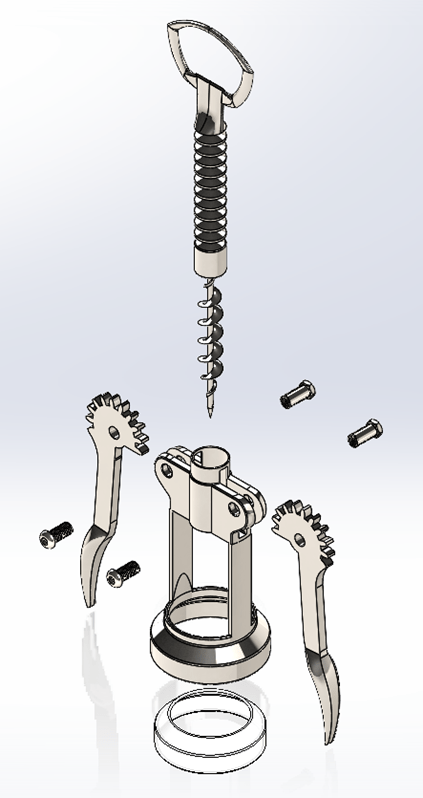
Here is an exploded view of the corkscrew, with a final part at the bottom that replicated to model after the clear injection molded piece. Each piece was precicely mated to each other using traditional mates like “coincident” all the way to advanced mates like “rack and pinion” and “limit distance” in order to have a fully functional wine bottle opener in CAD.
Takeaways
| What I did: | What I learned: |
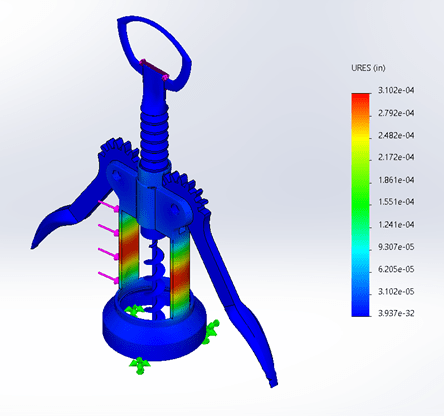
| -Made rack and pinion gears from scratch -FEA analysis -Mass properties calculations -Conducted a sustainable design analysis -Prepared a part for injection molding -Made an animation to illustrate functionality | -How to use all different types of tools and functions within the SolidWorks CAD software -How to make a bolt from scratch -How to make gearing from scratch -How to design parametrically for easy adjustments |