Project Scope
As a mechanical engineering intern at Copper, I was tasked with designing, assembling and testing a fixture for two laser etching machines to engrave stove parts with the company logo and product name. This rolling cart fixture was then sent to our contract manufacturer for the company’s first production run.
Prototyping Process

1) CAD Design
I used SolidWorks to conceptually place stove parts together and design a table top to be CNC’d out of aluminum where laser machines, clamps and jigs are affixed.


2) Assembly
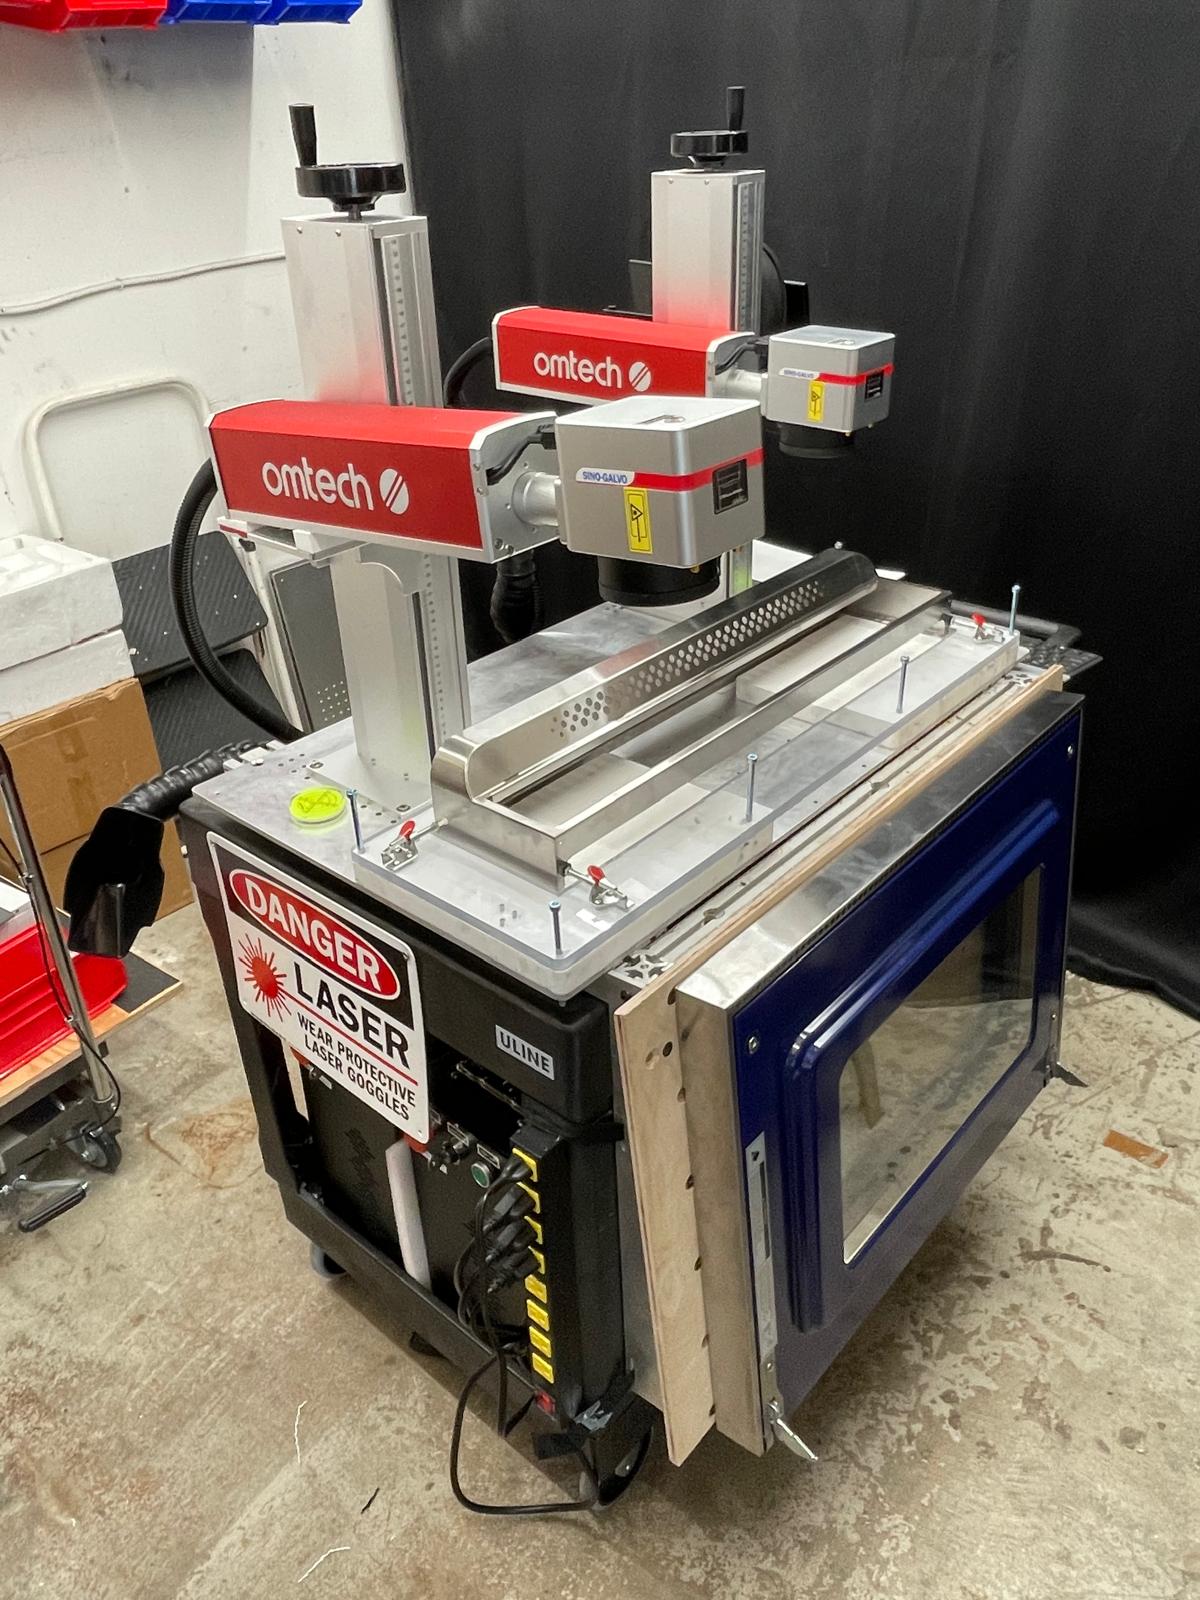
After designing each piece, I assembled the fixture elements such as the wood panel, 80/20 T-slot extrusions, fume extractors and laser towers, onto the rolling cart.


3) Jigs and Instructions
Once the basic fixture was assembled, I was then able to add all of the necessary clamps and jigs where the stove parts were going to sit while being etched. Additionally, I made some detailed instructions for our contract manufacturer to follow.

4) Testing
Making adjustments to fixturing elements as well as calibrating software to deliver a consistent etch in both opacity and color.


5) Final Etching Results
Above are the results to the laser etching of the company logo “COPPER” and the product name “Charlie” with the serial number of the stove engraved onto the oven door.
Final Fixture
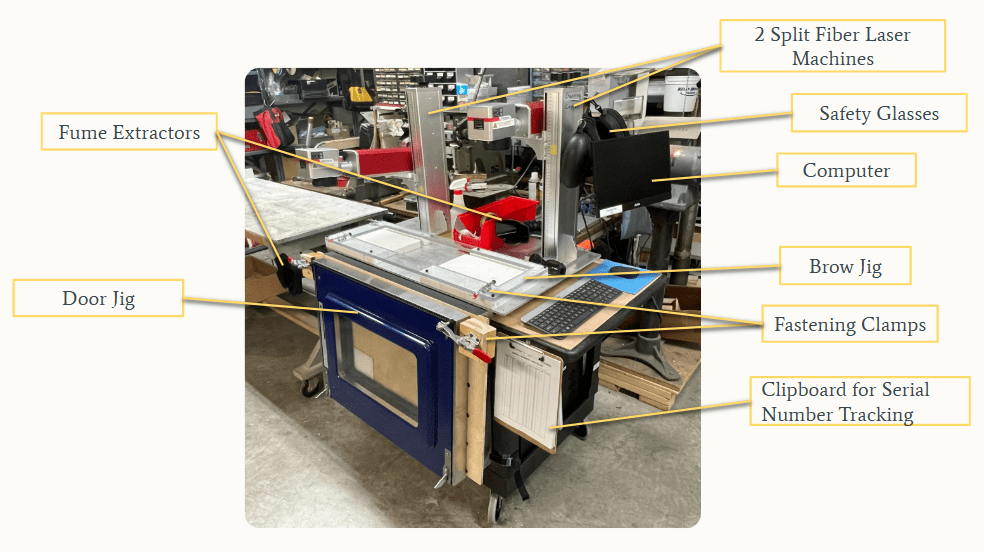
In the picture above, all fixture elements are listed out to show how the final fixture looked like and its mobile capacity, as the entirety was able to be rolled around as a rolling cart.
Takeaways
| What I did: | What I learned: |
| -Collaborated with engineers on design and fabrication -Visited contract manufacturer and interacted with plant workers -Wrote detailed instructions with revisions -Experimented with powder coating | -How to use Lightburn software and calibrate split fiber machines -The effects of laser speed vs frequency vs power on different materials -Designing user friendly fixturing -Manufacturing plant realities |

